Situation – Trying to set-up Proofpoint with Google’s GSuite service.
Solution – Outline to setting up GSuite in conjunction with Proofpoint.
This article explains how to configure G Suite to use Proofpoint as your mail gateway.
What Is G Suite?
G Suite (also known as Google Apps) is a cloud-based solution from Google which offers email, messaging, security, archiving, and other capabilities delivered from Google’s worldwide network of cloud data centers.
Before You Start
Before continuing with the provisioning and configuration of the Proofpoint service, it is recommended that you have the information listed below.
INFORMATION NEEDED FOR CONFIGURING Proofpoint
MX record(s) for domain(s) you are configuring
INFORMATION NEEDED FOR CONFIGURING G SUITE
Proofpoint IPs, Smart Host, and SPF
Google Admin Account
Setup Inbound Mail Flow
Proofpoint is deployed between the customer’s G Suite environment and the Internet. Inbound mail is routed to Proofpoint by changing the customer’s MX records. After email is processed by Proofpoint it is routed to G Suite.
Configure Proofpoint
LOCATE YOUR MX RECORD FOR THE DOMAIN IN G SUITE
Sign-In to the Google Admin console.
From the dashboard go to Apps > G Suite > Gmail > Advanced Settings.
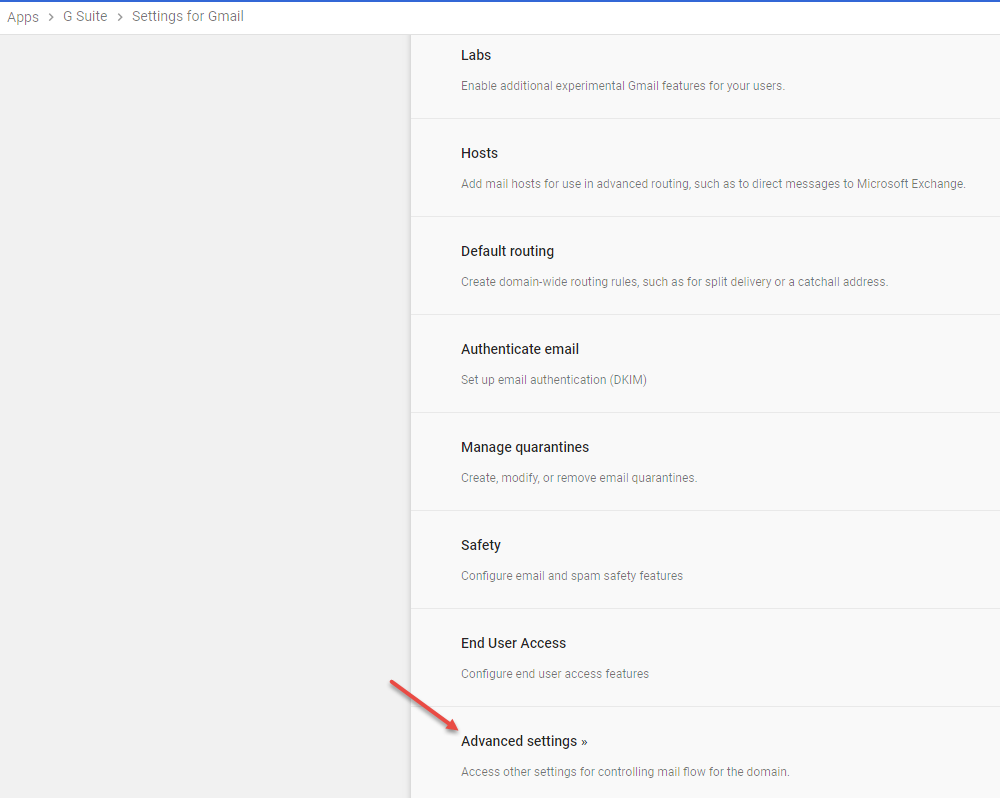
While on the General Settings tab, scroll down to Setup > MX records and make note of all the Points to values (you can also enter MX records in the search field).
These values will be necessary when you add your domains to Proofpoint.
ADDING DOMAIN(S) TO Proofpoint
- Sign-in to the Proofpoint user interface.
- Navigate to ‘Administration‘ and click Account Management > Domains > New Domain.
- Enter the domain name you wish to configure.
- Ensure Relay is selected for domain purpose.
- Enter the delivery and failover destinations values.
- Choose the method you wish to use for domain verification.
You can verify your domain at this stage or you can verify at a later time. However, the domain must be verified before it can be enabled.
- Click Verify Now OR Verify later.
- Repeat if you are adding more than 1 domain.
The delivery and failover destinations refers to the points to values captured in the previous section.
Configure G Suite
CONFIGURE INBOUND MAIL GATEWAY
Skipping Inbound Mail Gateway Configuration
Skipping this step has been verified to cause bounce errors if the original sender side has a valid SPF or DMARC configuration in place. Please ensure to set this in order to ensure mail delivery.
Sign-In to the Google Admin console.
From the dashboard go to Apps > G Suite > Gmail > Advanced Settings.
While on the General Settings tab, scroll down to the Spam > Inbound Gateway (you can also enter Inbound Gateway in the search field).

- Hover the cursor to the right of Inbound gateway. To create a new inbound gateway setting, click Configure.
- Under Gateway IPs, enter the IP addresses, then enable.

Check Automatically detect external IP.
When this setting is enabled, Gmail scans the message header to locate the first occurrence of an IP address that is not listed in the Gateway IPs. This is referred to as the “external IP.” Gmail considers the “external IP” as the sending IP and uses this IP for SPF checks and spam evaluation.
Check Reject all mail not coming from gateway IPs.
Check Require TLS for connection from the email gateways listed above.


UPDATE SAFETY SETTINGS
G Suite’s safety settings allow organizations to enable or disable policies related to viewing and accessing email. If you have enabled some or all of these settings you may experience some delivery issues. Please review the following steps to ensure your settings are supported.
While signed in to the Google Admin console, go to Apps > G Suite > Gmail.
Click Safety to expand options.
No changes to Attachments settings or Links and external images are required. You can leave these settings as they are.
DMARC Errors – If you have Spoofing and authentication settings enabled (either all or customized) consider the following setting:
Protect against any unauthenticated emails
Proofpoint has already scanned incoming emails for SPF and/or DKIM issues. Emails with issues are scored accordingly and quarantined if they exceed your spam threshold.
This setting needs to be disabled. If it is enabled it may cause unexpected delivery issues for incoming email.
Not disabling this feature has also been known to cause bounce back errors indicating a DMARC issue. Please ensure you disable this as instructed.
The error message would be: Unauthenticated email from proofpoint.com is not accepted due to domain’s DMARC policy
Setup Outbound Mail Flow
Proofpoint is deployed between the customer’s G Suite environment and the Internet. Outbound mail is routed to Proofpoint by configuring an outbound mail gateway. This will route all outbound mail to Proofpoint.
Configure Proofpoint
ENABLE OUTBOUND RELAYING
Sign-in to the Proofpoint user interface.
Navigate to the ‘Administration‘ area and click Account Management > Features
Check Enable Outbound Relaying.

Click Save.
ADD SERVICE IP ADDRESSES TO YOUR INBOUND GATEWAY
While logged into the Proofpoint user interface, navigate to the ‘Administration‘ area and click Account Management > Domains
Click Managed Hosted Services.

Choose Google Apps.

Click Save.
Configure G Suite
CONFIGURE OUTBOUND MAIL GATEWAY
Sign-In to the Google Admin console.
From the dashboard go to Apps > G Suite > Gmail > Advanced Settings.
While on the General Settings tab, scroll down to the Routing > Outbound Gateway (you can also enter Outbound Gateway in the search field).

In the Outbound Gateway text field, enter the Proofpoint Smart host value.
Click Save.
UPDATE SENDER POLICY FRAMEWORK (SPF)
When sending outbound email through the Proofpoint gateway, recipients receive mail sent from Proofpoint rather than G Suite mail servers. If the recipient’s mail service attempts to verify that the message came from your domain, it must confirm that the gateway server is an authorized mail server for your domain.
To enable this, you need to add the Proofpoint SPF record to your domain.