The following procedure details how to setup Webmail, ActiveSync, CalDAV, CardDAV, and AutoDiscover to run under IIS10 for Windows 2016 with the 64-bit version of MDaemon installed.
- Install the Web Server Role with ISAPI support (for exact steps please consult your Operating System documentation)
- Close Internet Information Services (IIS) Manager if it's open
- Install Microsoft's IIS URL Rewrite 2.0 (Required for ActiveSync and CalDAV/CardDAV protocols)
- Other languages are available here; https://www.iis.net/downloads/microsoft/url-rewrite#additionalDownloads
- Navigate to http://www.iis.net/download/URLRewrite in a web browser
- Run the installer to install the extension
- Open the IIS Manager
To do this:- Click Start
- Click All Programs
- Click Administrative Tools
- Click Internet Information Services (IIS) Manager
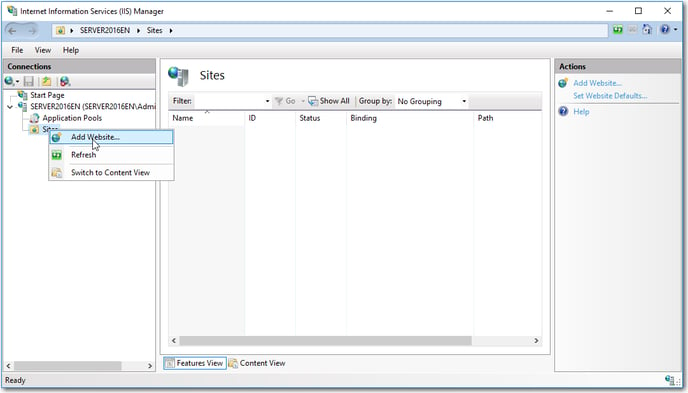
- On the Connections pane, expand the [Machine_name] node
- Right click on Sites
- Click Add Web Site
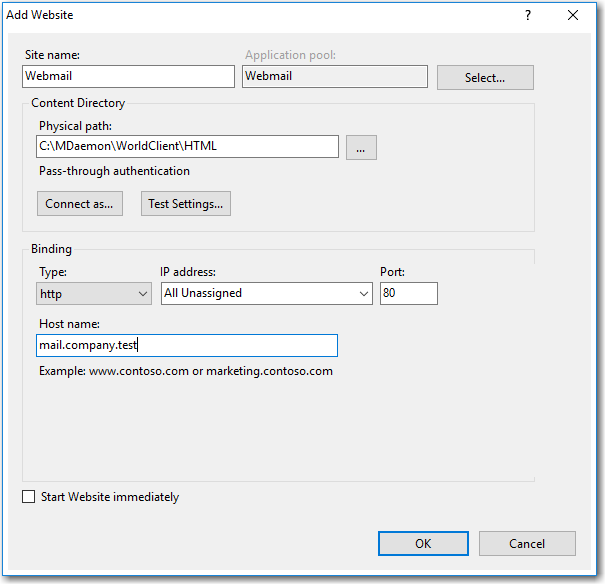
- Enter a Site name (i.e. Webmail). This will also create an Application Pool by the same name as the web site (do not manually create an Application Pool).
- Click the browse button (the button with '...') by Physical path and browse to the 'MDaemon\WorldClient\HTML' directory
- Set up the bindings as desired in the Binding section
- Click OK
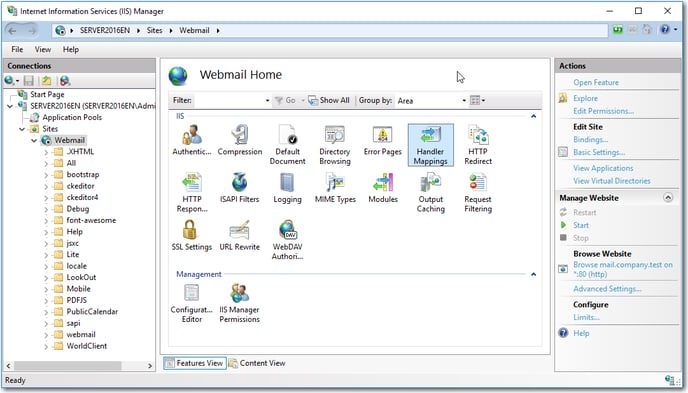
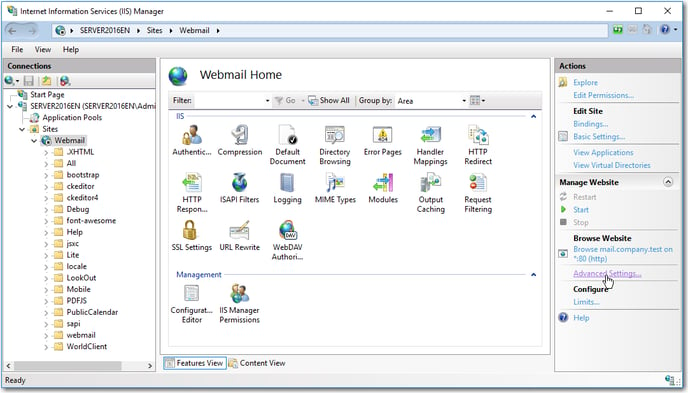
- Click on the Webmail site in the Connections pane.
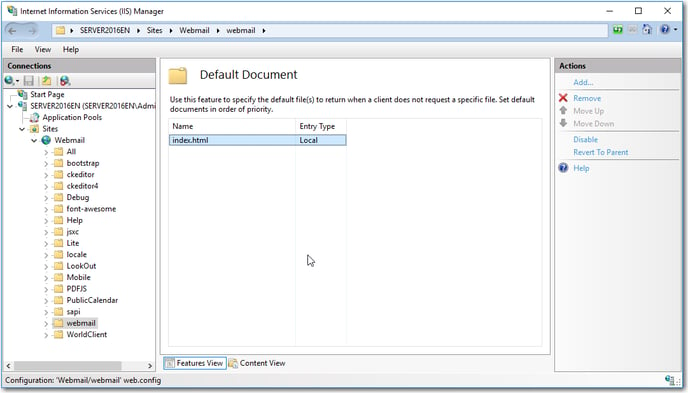
- Double click on Default Document
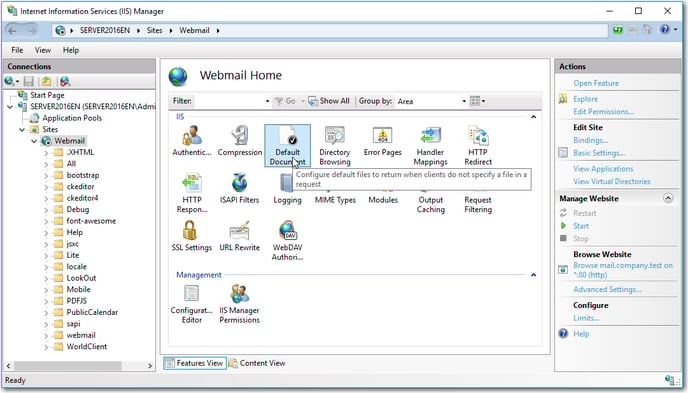
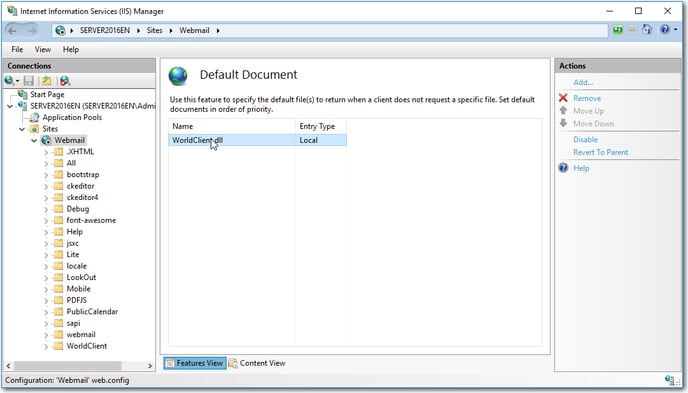
- Verify the default document is worldclient.dll
- Remove any existing Default Documents other than worldclient.dll
- Click Add and enter 'worldclient.dll' if the entry does exist
- Click on the Webmail site in the Connections pane
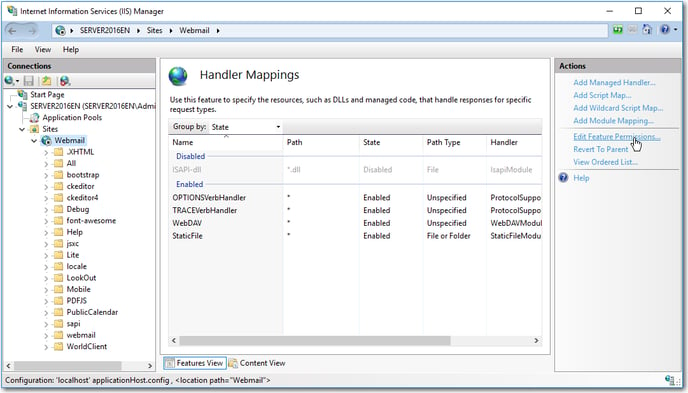
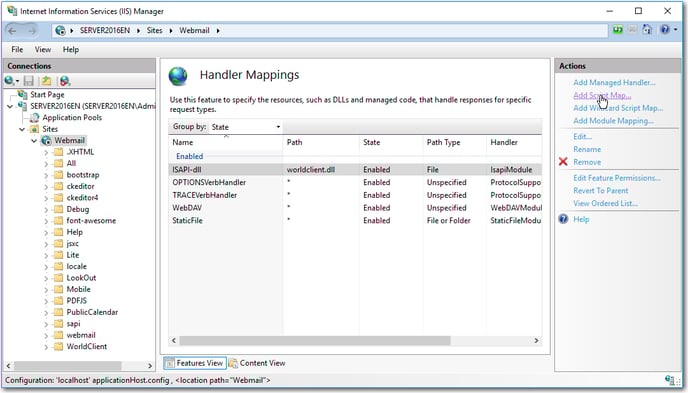
- Double click on Handler Mappings
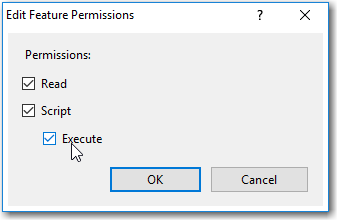
- Click Edit Feature Permissions on the Actions pane.
- Verify the boxes for Read and Script are selected (checked), and select (check) the box for Execute
- Click OK
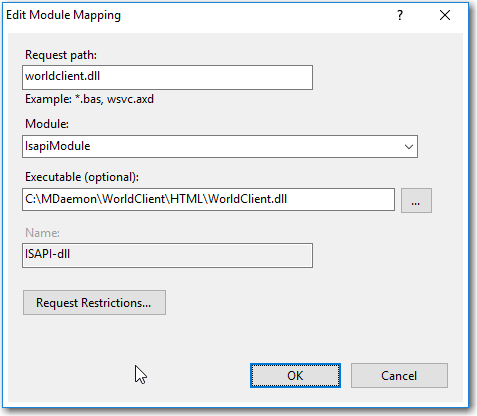
- Double click ISAPI-dll under the Enabled column
- Change the value for the Request Path field from '*.dll' to 'WorldClient.dll'
- Set Module as IsapiModule
- Under Executable, click the browse button (the button with '...')
- Browse to 'MDaemon\WorldClient\HTML\WorldClient.dll' (on the C:\ drive by default)
- Click OK
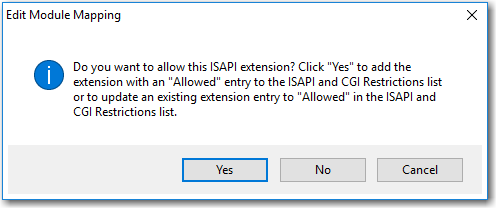
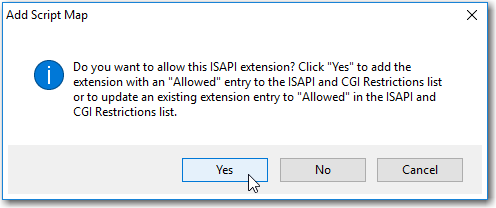
- Click Yes on the dialog that asks 'Do you want to allow this ISAPI extension...'
MDaemon versions 22.0 and above will need to add another MIME type to the list.
- Select the Webmail site folder.
- Double click MIME Types
- Click Add...
- Enter .cjs in the File name extension textbox.
- Enter text/javascript in the MIME type textbox.

- Click Ok
MDaemon versions 19.5 and above will need to perform additional steps to utilize the Pro theme.
- Edit the Default Document of the Webmail folder
- Select the Webmail folder (not to be confused with the Webmail site name in this example)
- Double click Default Document
- Select the WorldClient.dll default document
- Click Remove

- Click Add
- Enter index.html
- Click OK
- Redirect WorldClientAPI requests to the worldclient.dll
- Select the Webmail website
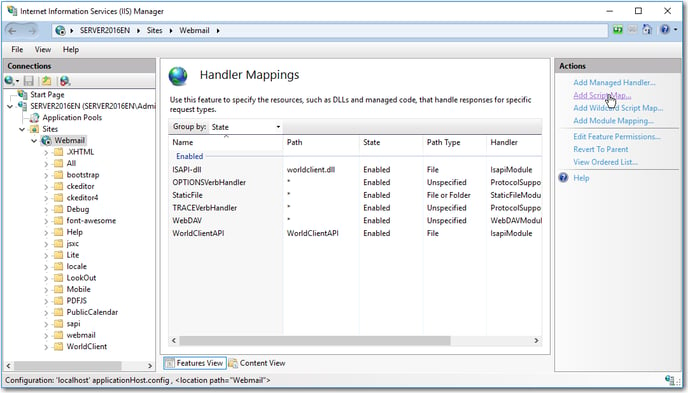
- Double click on Handler Mappings
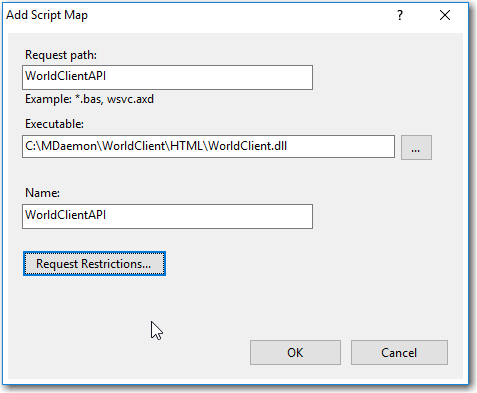
- Select Add Script Map...
- Enter WorldClientAPI in the Request Path
- The Executable Path is the worldclient.dll in the \MDaemon\WorldClient\HTML directory
- Enter WorldClientAPI for the name
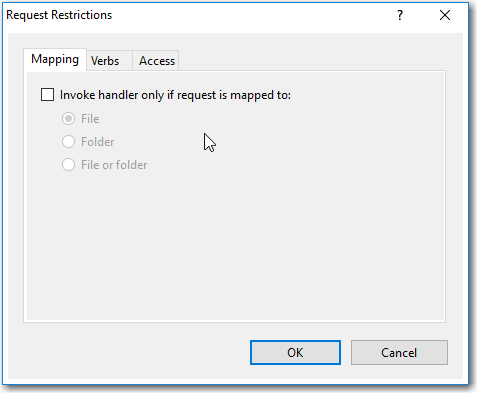
- Click Request Restrictions
- Remove the check mark in the Invoke handler only if request is mapped to:
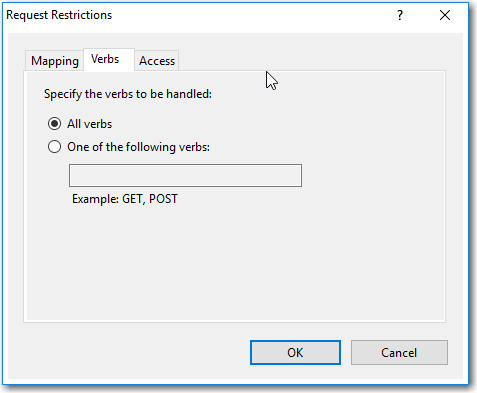
- Select the Verbs tab and verify All verbs is selected
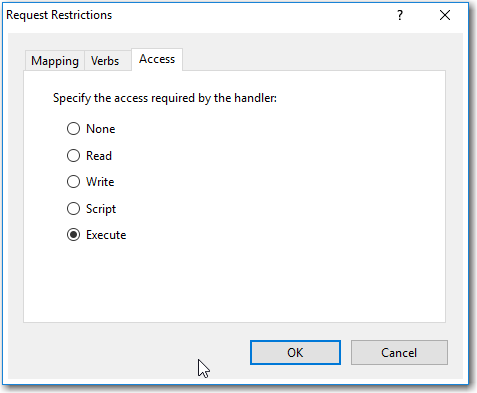
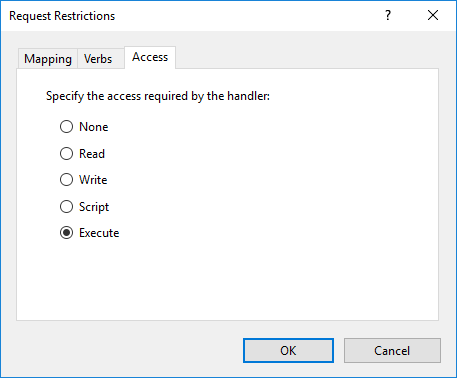
- Select the Access tab and select Execute
- Click OK
- Click Yes
- Create URL Rewite
- Select the Webmail folder (not to be confused with the Webmail site name in this example)
- Double Click URL Rewrite
- Select Add Rules from the Actions menu
- Select Blank rule
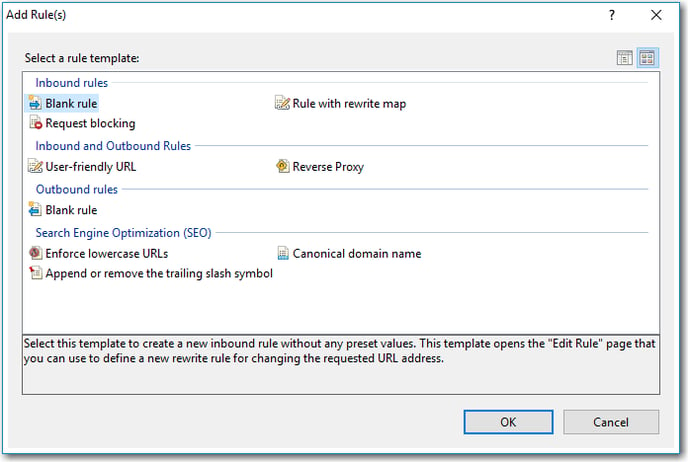
- Click OK
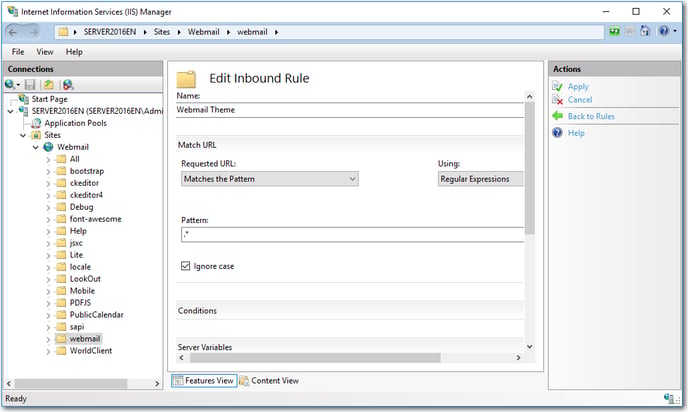
- Enter a name for the Inbound Rule
- Select Matches the Pattern in the Requested URL
- Select Regular Expressions in the Using drop down
- Enter .* in the Pattern text box
- Expand the Conditions section
- Click Add in the Condition section
- Select Is Not a Directory in the Check if input string section
This changes the Condition to {REQUEST_FILENAME} - Click OK
- Click Add in the Condition section
- Select Is Not a File in the Check if input string section
This changes the Condition to {REQUEST_FILENAME} - Click OK
- Select Rewrite for the Action Type
- Enter index.html in the Action Properties
- Check Append query string
- Check Log rewritten URL
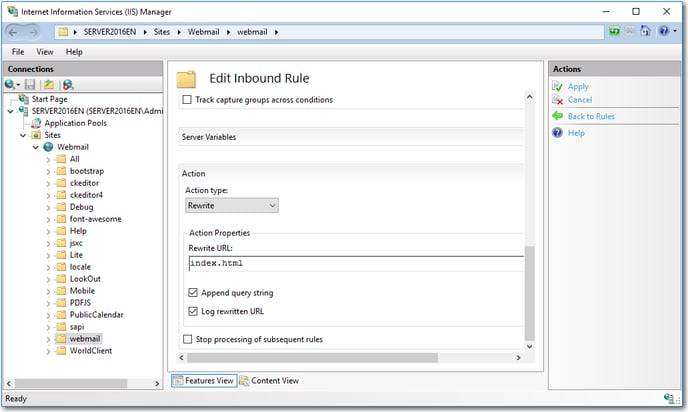
- Click Apply to apply the Inbound rule
Add the MDAirSync.dll mapping is IIS
- On the Handler Mappings Actions menu on the right, click on 'Add Script Map...'
- In the Request Path field, enter 'MDAirSync.dll'
- Under Executable, click the browse button (the button with '...')
- Browse to 'MDaemon\WorldClient\HTML\MDAirSync.dll' (on the C:\ drive by default)
- In the Name field, enter 'MDAirSync.dll'
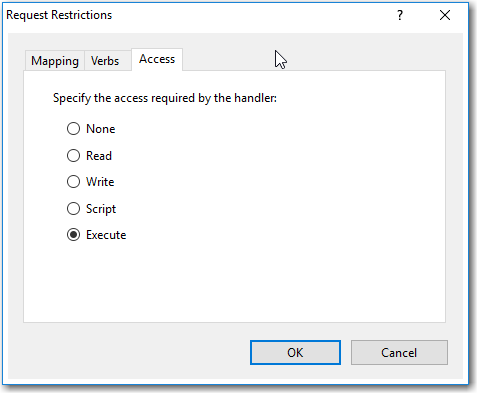
- Click the Request Restrictions button
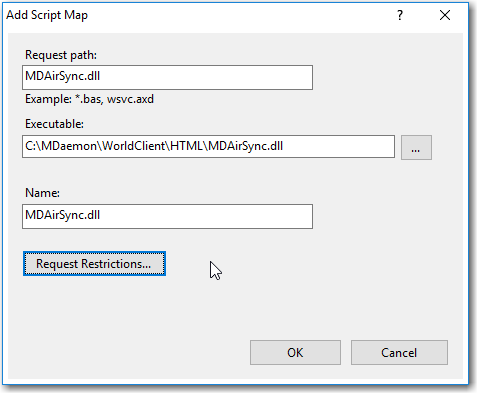
- Under the Access tab, select Execute
- Click OK
- Click OK
- Click Yes on the dialog that asks 'Do you want to allow this ISAPI extension...'
Add the AutoDiscover service to IIS
- On the Handler Mappings Actions menu on the right, click on 'Add Script Map...'
- In the Request Path field, enter 'MDAutoDiscover.dll'
- Under Executable, click the browse button (the button with '...')
- Browse to 'MDaemon\WorldClient\HTML\MDAutoDiscover.dll' (on the C:\ drive by default)
- In the Name field, enter 'MDAutoDiscover.dll'
- Click the Request Restrictions button
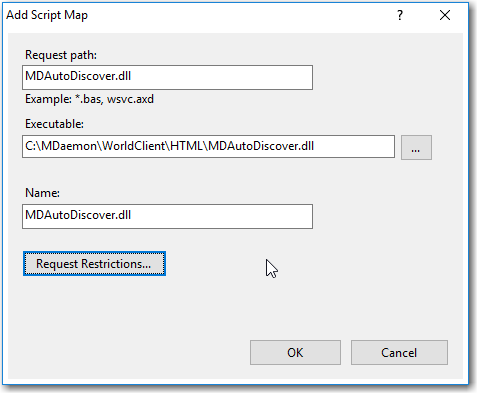
- Under the Access tab, select Execute

- Click OK
- Click OK
- Click Yes on the dialog that asks 'Do you want to allow this ISAPI extension...'
Add the CalDAV service to IIS
NOTE: If IIS had been configured prior to MDaemon 22, please remove the URL Rewrite rule for CalDav and run through the steps below.
- Select the Webmail site from the Connections panel.
- Double click Handler Mappings
- Click Add Script Map...
- Enter /.well-known/caldav in the Request Path textbox.
- Enter C:\MDaemon\WebDAV\MDWebDAV.dll in the Executable textbox.
(Modify the directory path if MDaemon was not installed on the C:\ directory) - Enter a name in the Name field; i.e MDCalDav.
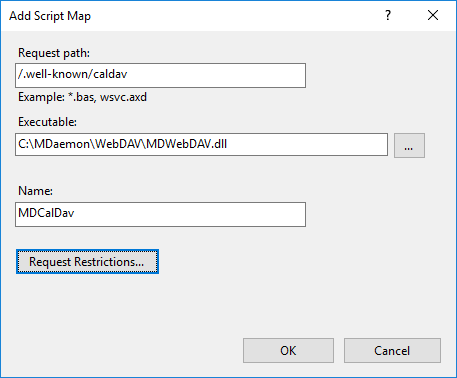
- Click Request Restrictions
- Select the Verbs Tab and verify All Verbs is selected.
- Select the Access Tab and choose Execute
- Click OK
- Click OK
- Click Yes to allow the ISAPI extension.
Add the CardDav service to IIS
NOTE: If IIS had been configured prior to MDaemon 22, please remove the URL Rewrite rule for CardDav and run through the steps below.
- Select the Webmail site from the Connections panel.
- Double click Handler Mappings
- Click Add Script Map...
- Enter /.well-known/carddav in the Request Path textbox.
- Enter C:\MDaemon\WebDAV\MDWebDAV.dll in the Executable textbox.
(Modify the directory path if MDaemon was not installed on the C:\ directory) - Enter a name in the Name field; i.e MDCardDav.

- Click Request Restrictions
- Select the Verbs Tab and verify All Verbs is selected.
- Select the Access Tab and choose Execute
- Click OK
- Click OK
- Click Yes to allow the ISAPI extension.
To configure the Microsoft ActiveSync protocol in IIS, complete these steps:
- Press Start
- Select Administrative Tools
- Click Internet Information Services (IIS) Manager
- Under Inbound Rules, select Blank Rule and click OK
- Name the rule: MDAirSync.dll
- Under Match URL set these settings:
- Requested URL: Matches the Pattern (default)
- Using: Regular Expressions (default)
- Pattern: ^Microsoft-Server-ActiveSync
- Ignore Case: Enabled (default)

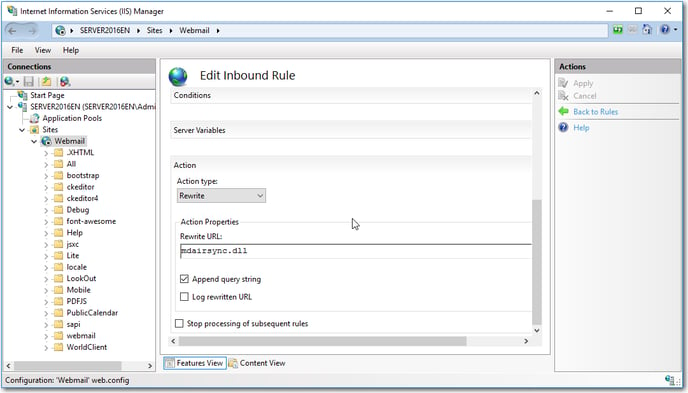
- Under Action set these settings:
- Action type: Rewrite (default)
- Rewrite URL: mdairsync.dll
- Append query string: Enabled (default)
- In the Actions pane, click Apply
- In the Actions pane, click Back to Rules

- Open the IIS Manage
- On the Connections pane, expand the [Machine_name] node
- Expand the Sites node
- Click on the Webmail site in the Connections pane
- Double click on URL Rewrite
- On the Actions pane, click Add Rule(s)...
If using Windows Server 2008 64-bit or Windows Server 2008 R2, configure the Webmail Application Pool:
- Double-click on Application Pools on the Connections pane
- Select the Webmail application pool
- On the Actions pane, click Advanced Settings...
- In the General section, locate 'Enable 32-bit Applications'
- Select the field and choose False
- In the Process Model section, set Identity to Network Service
- Click OK
Update the NTFS permissions of the MDaemon directory:
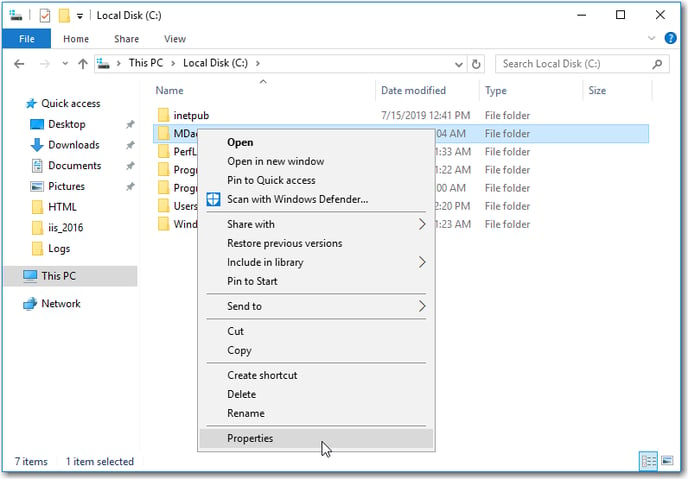
- Open Windows Explorer
- Navigate to the MDaemon directory (by default, 'C:\MDaemon')
- Right click on the MDaemon directory
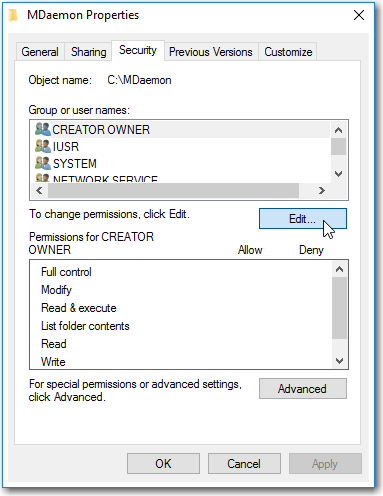
- Choose Properties
- Choose the Security tab
- Click Edit
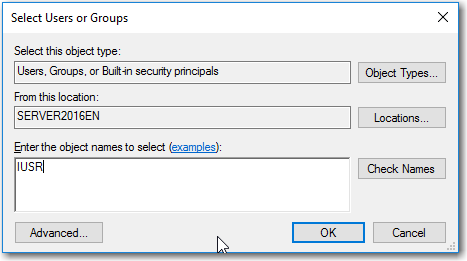
- Click Add
- Type 'IUSR'
- Click OK to close the Select Users or Groups dialog
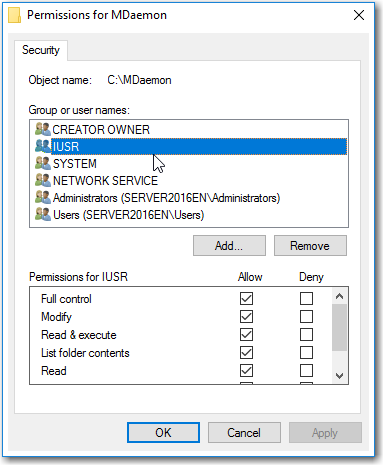
- Enable Full control under Allow for IUSR

- Click Add...
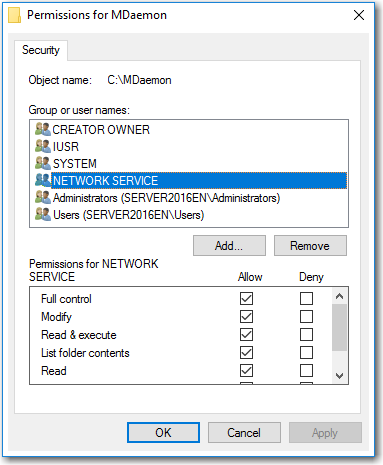
- Type 'Network Service'
- Click OK to close the Select Users or Groups dialog
- Enable Full Control under Allow for Network Service
- Click OK to close the Permissions for MDaemon dialog and wait for the changes to take effect
- Click OK to close the MDaemon Properties dialog
Switch over from MDaemon's built-in webserver to IIS
- Open the MDaemon console
- Click Start
- Click All Programs
- Click MDaemon
- Click Start MDaemon
- Open the Setup menu
- Click Web & IM Services...
- Select WorldClient runs using external webserver (IIS, Apache, etc)
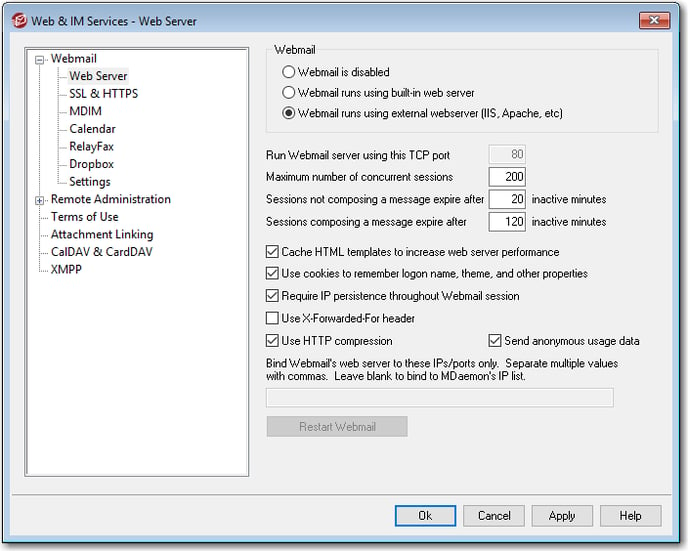
- Click OK